Oracle Rac - Installing Oracle Linux 7.9Pre-requisites : Oracle Virtual box Click on new and Click Next 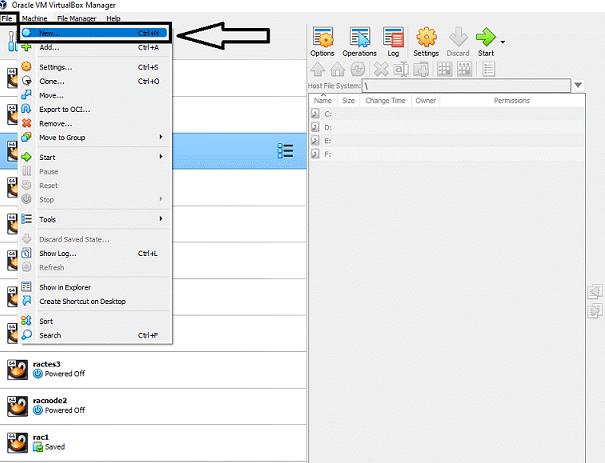 Provide a Name eg.TESDBRAC, type as Linux and version as Oracle 64bit. Click Next 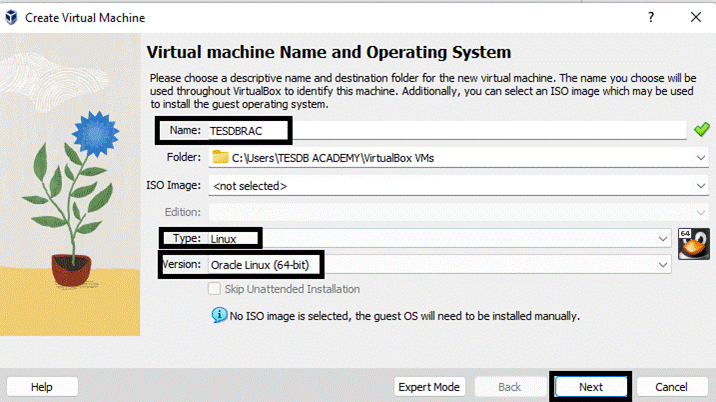 Enter Memory value to 4GB and then click the Next button Note : Oracle recommends at least 8 GB RAM for Oracle Grid Infrastructure installations. If the production system does not have enough RAM, you will see instance evictions and node reboot that may not be very explainable very often. 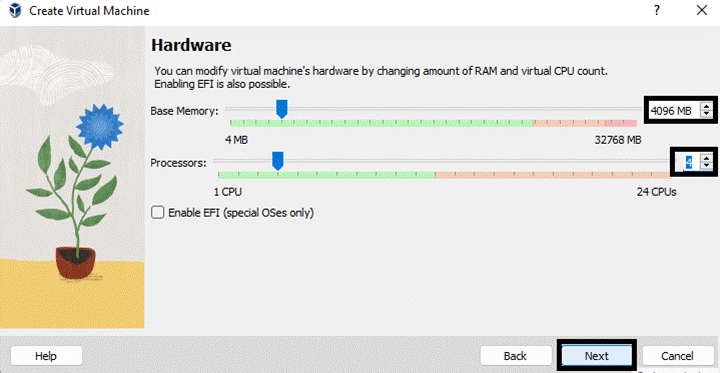 Provide the location where you want to save the VM files.Also enter the size of your vm from default to say 80GB and Click Create 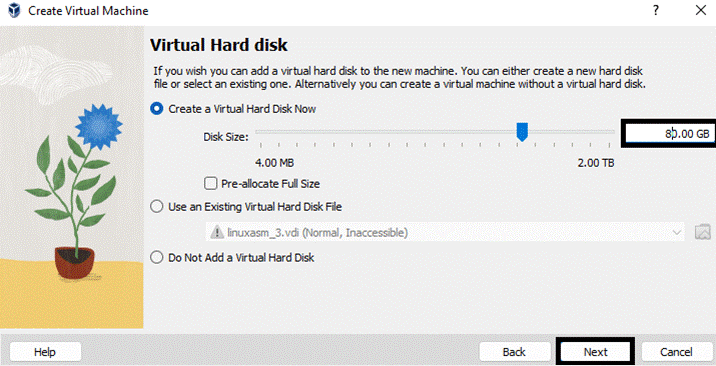 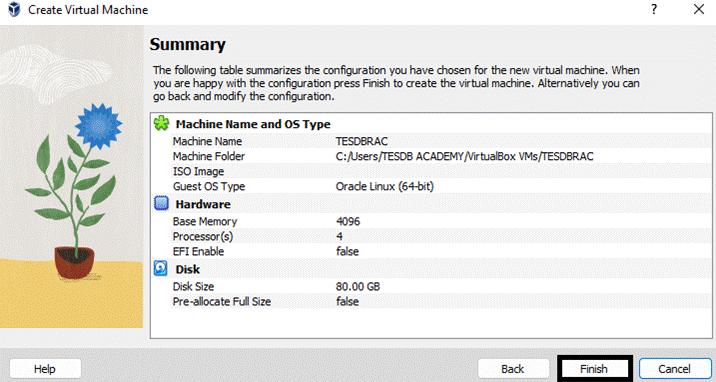 Once we click on Create we get TESDBRAC vm created as highlighted below: 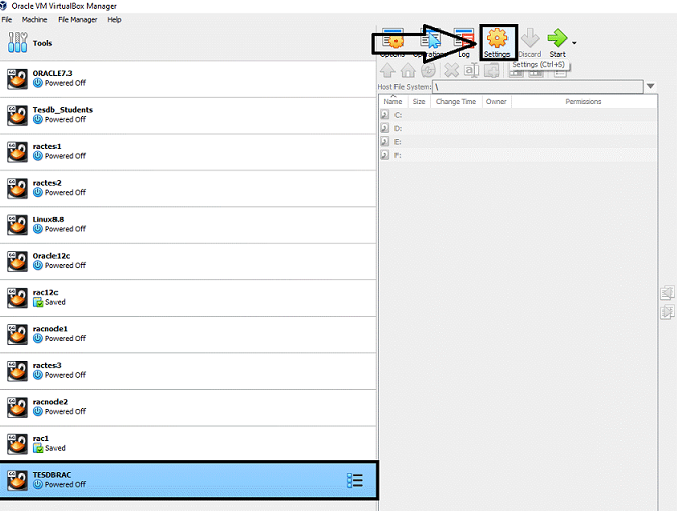 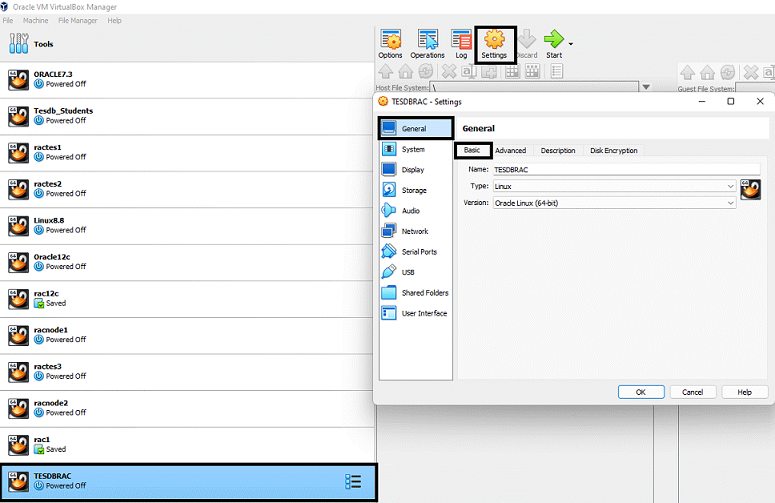 Click on General->Advanced and change shared clipboard to Bidirectional and Change Drag ‘n’ Drop to Bidirectional and click Ok  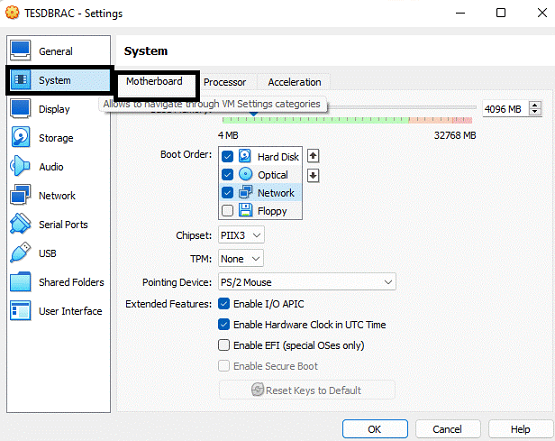 Click on General->Storage Select OEL7.9 ISO and click ok 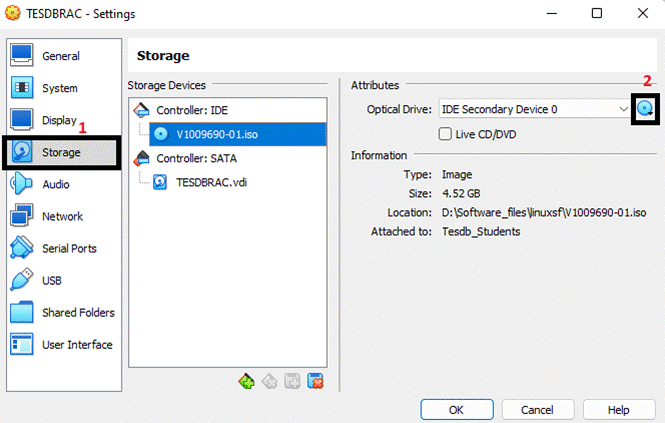 Add two Adaptors : 1)public 2)private Click on General->Network-Adapter 1 Make sure Adapter 1 is enabled, attached to Internal Network or Host-only Adapter or bridged adapter. This interface will be used for public network, for example, for connection to the RAC database from applications  Click on General->Network-Adapter 2 Make sure Adapter 2 is enabled and attach to bridged adapter. Name this network private network 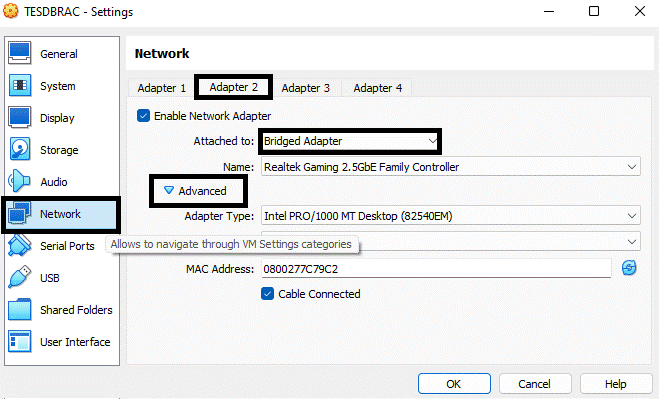 Click on General->Shared Folder this will be helpful to get any windows folder mounted on OEL 7.9 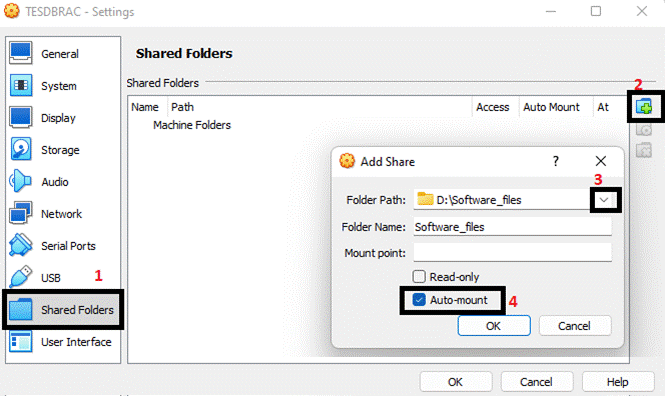 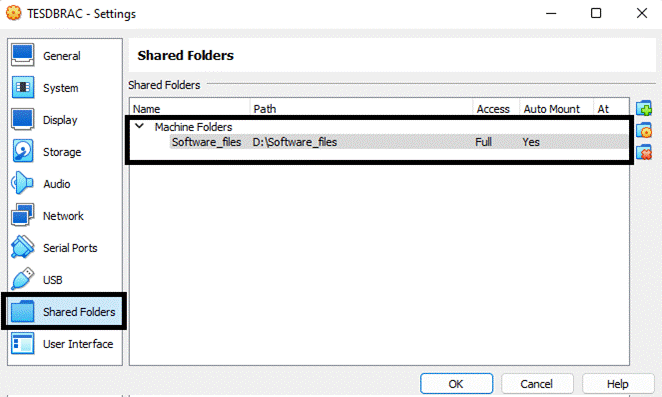 Double Check before starting Linux installation and Click on the Start button 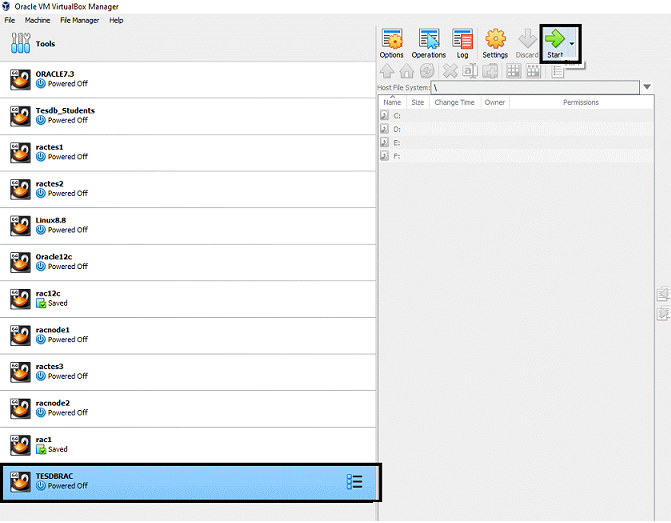 Select the Oracle Linux ISO image and click the Start button.After starting we get below screen and select Install.  Click Continue 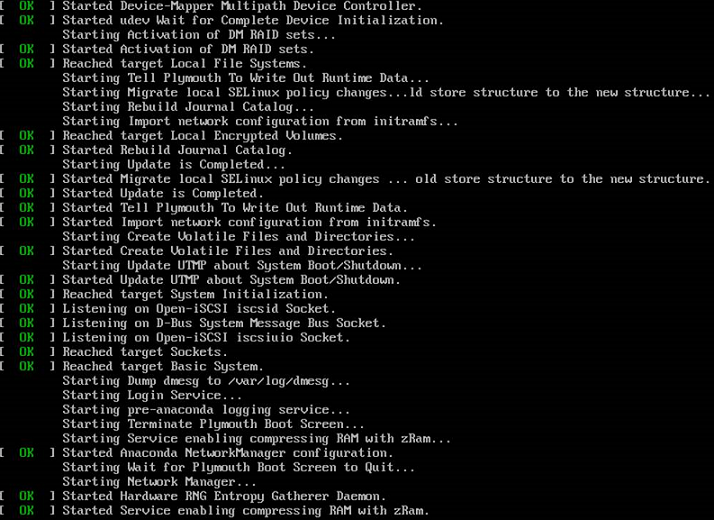 Click Continue 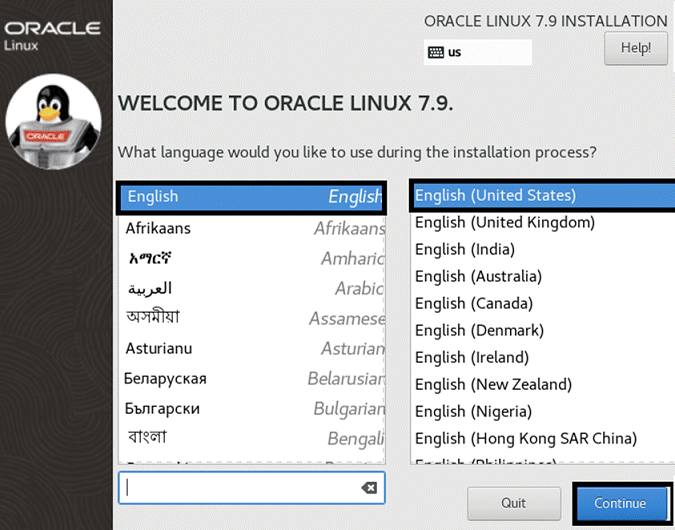 This is main screen one by one we need to configure 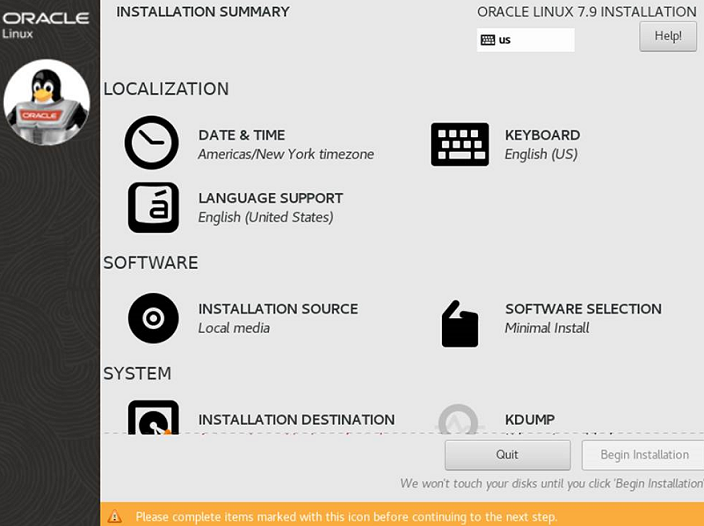 Select Region and city and press Done button 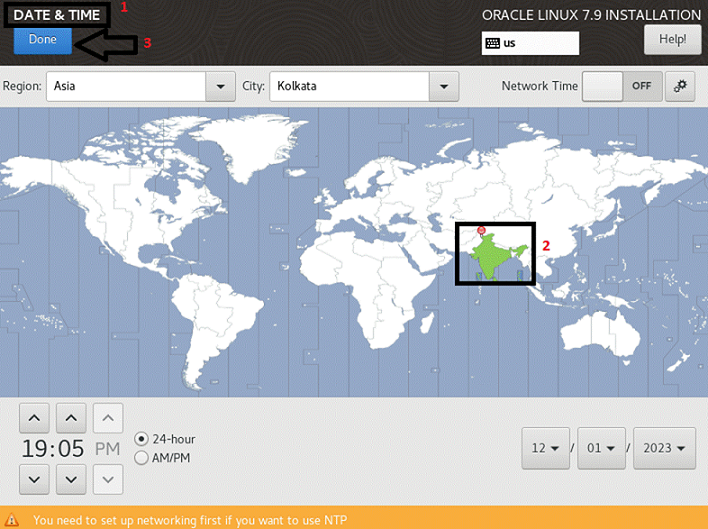 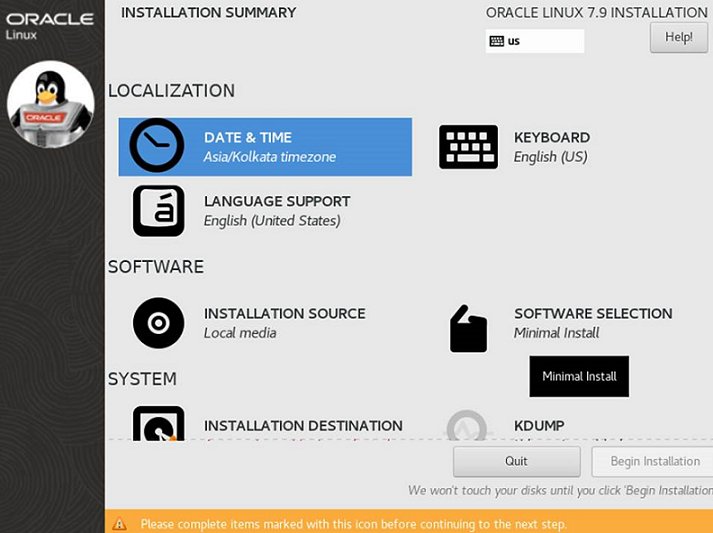 Select following packages and click done button Click the Samples : 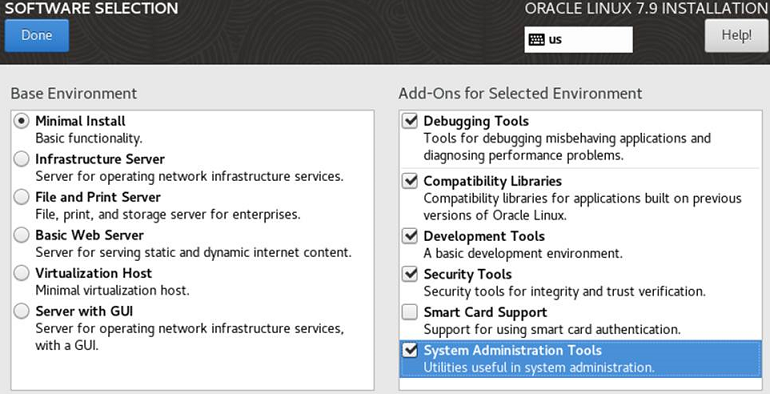 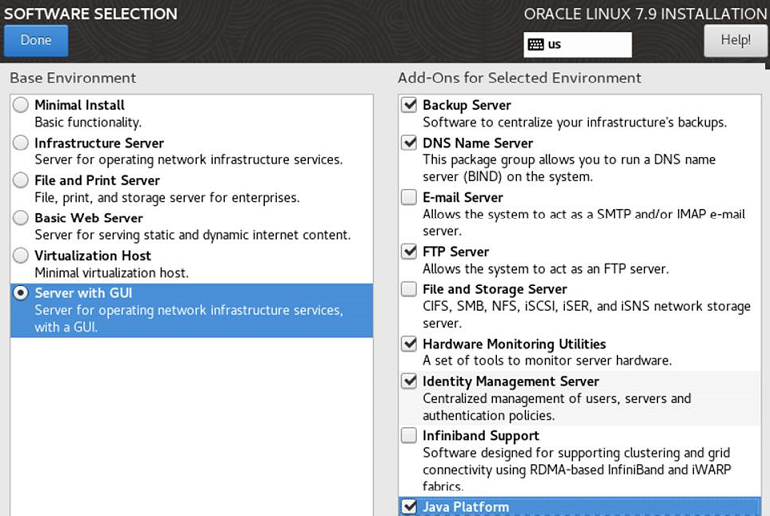 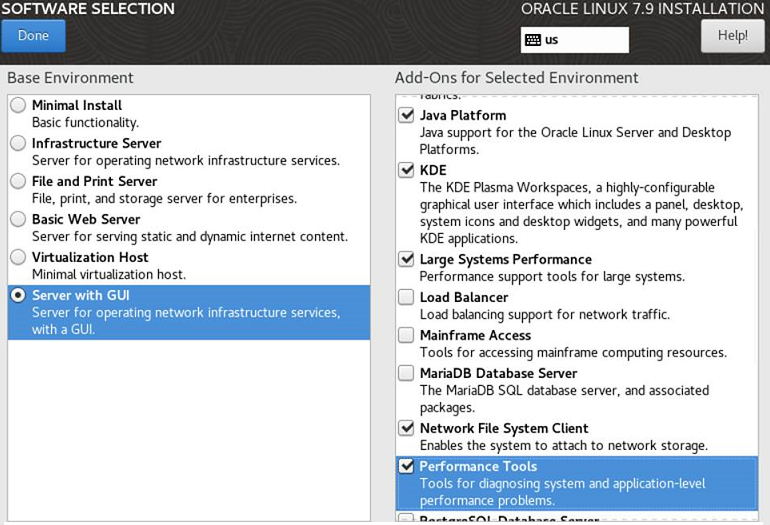 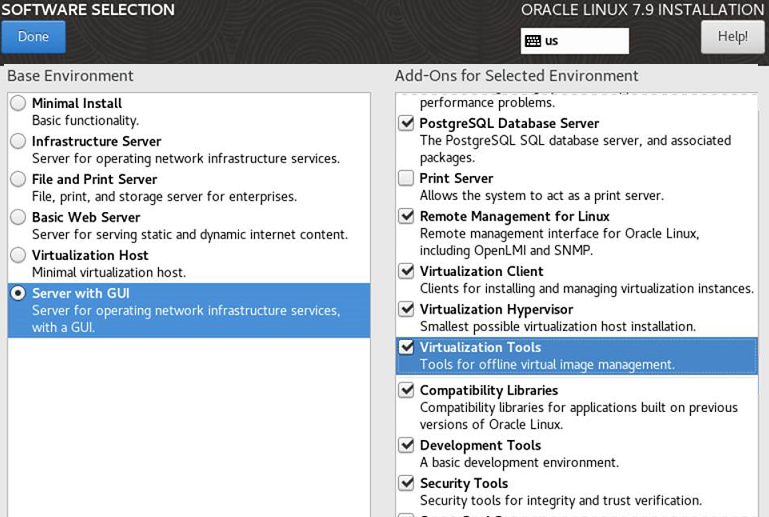 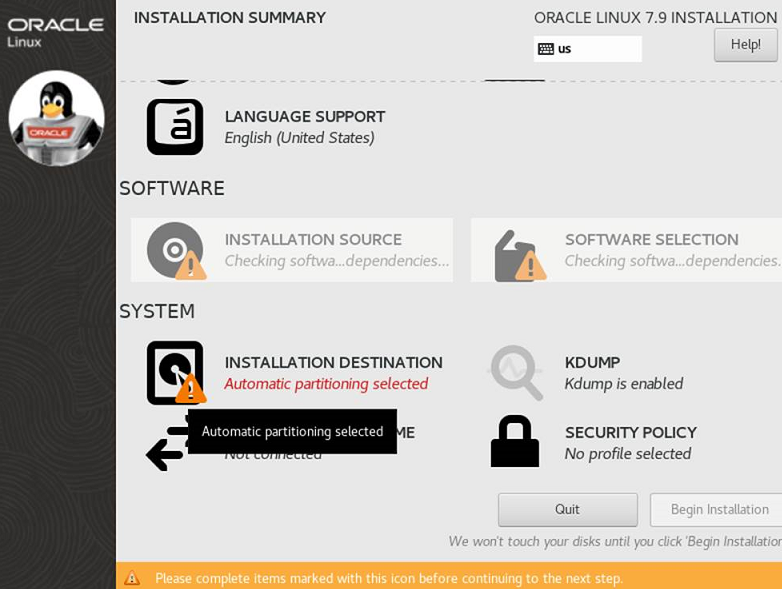 Next installation Destination-> select 80GB->I will configure partitioning and press Done button 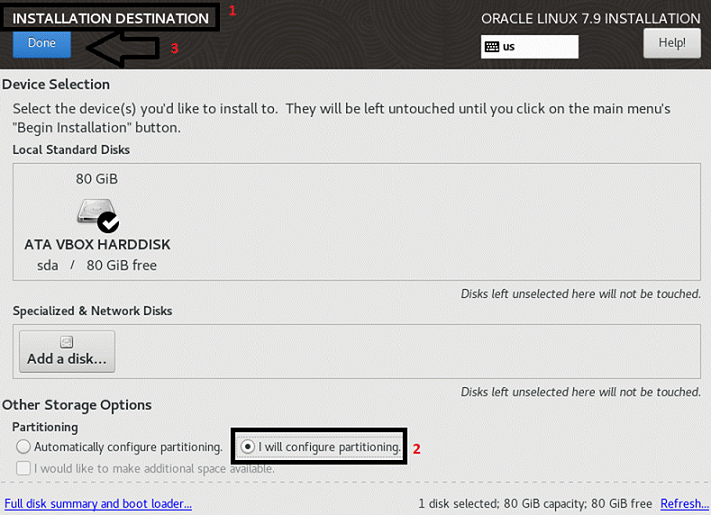 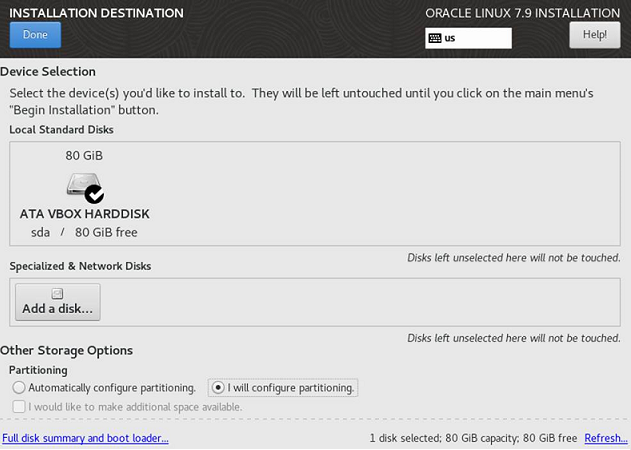 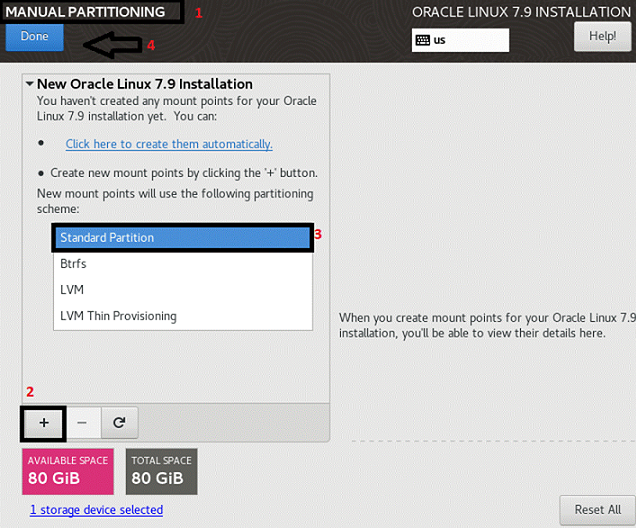 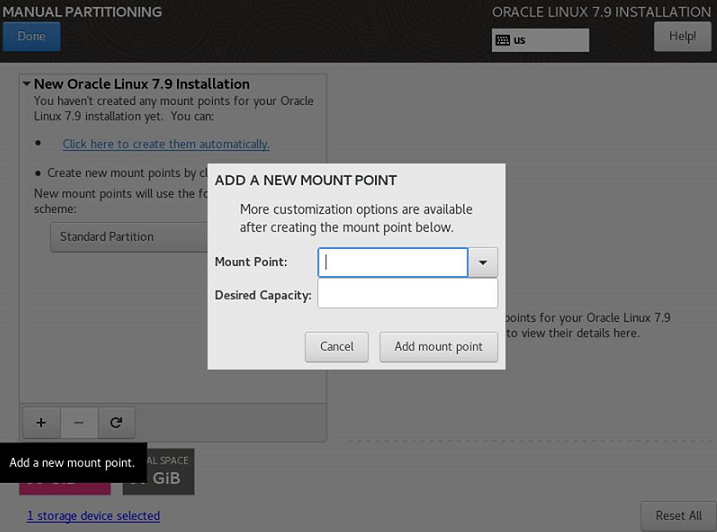 Press + button and enter mount point /swap 9000MB 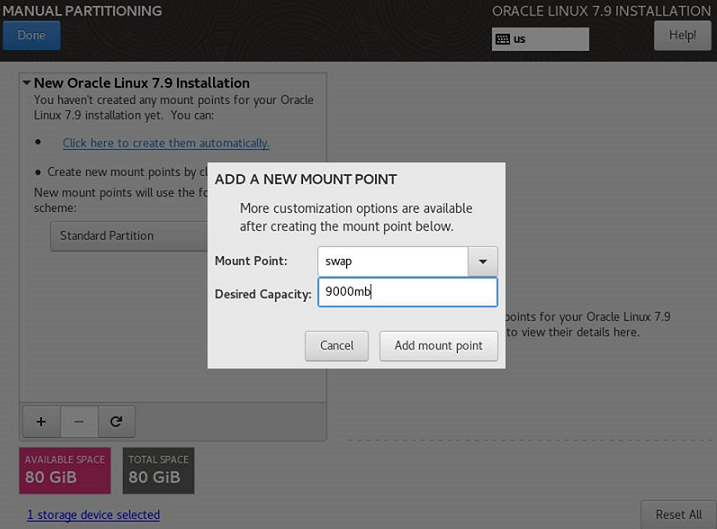 Press + button and enter mount point / 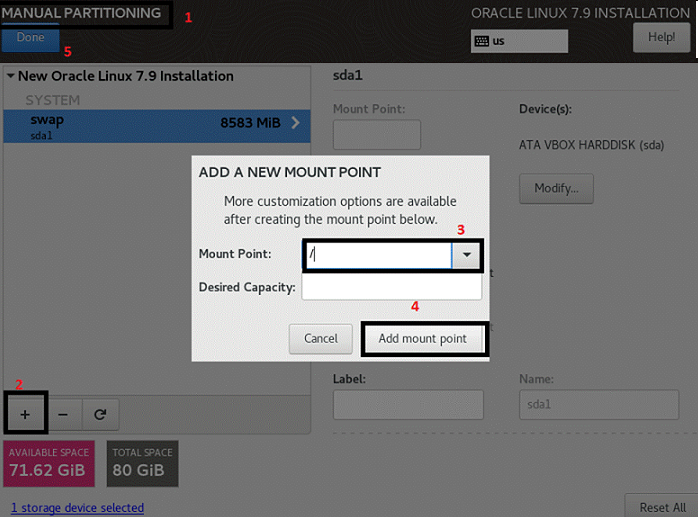 Select accept changes 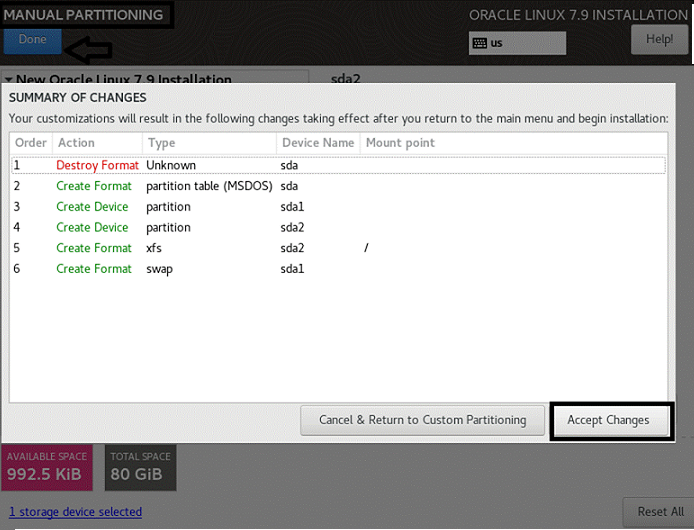 Next Configure Network Select IPv4 Settings tab and change Method to Manual; Press Add and fill Address: 192.168.1.66; Netmask: 255.255.255.0; Gateway: 192.168.1.1 Press save then done 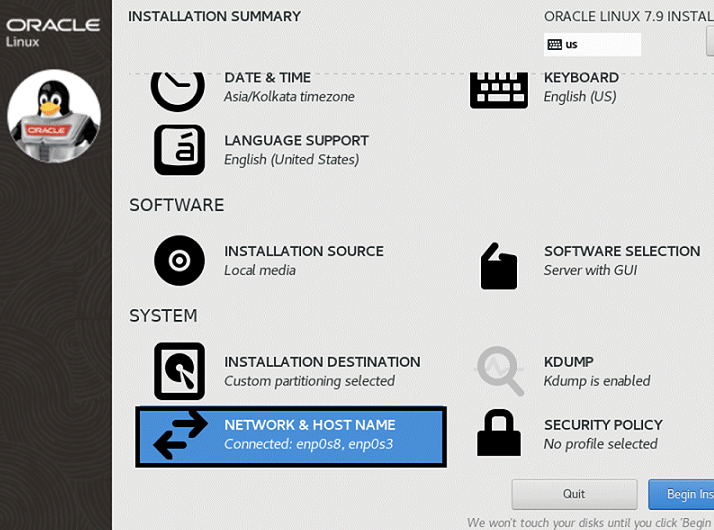 Select IPv4 Settings tab; change Method to Manual. Press Add and fill Address: 192.168.10.1; Netmask: 255.255.255.0; Gateway: 192.168.10.1 Save and press done button 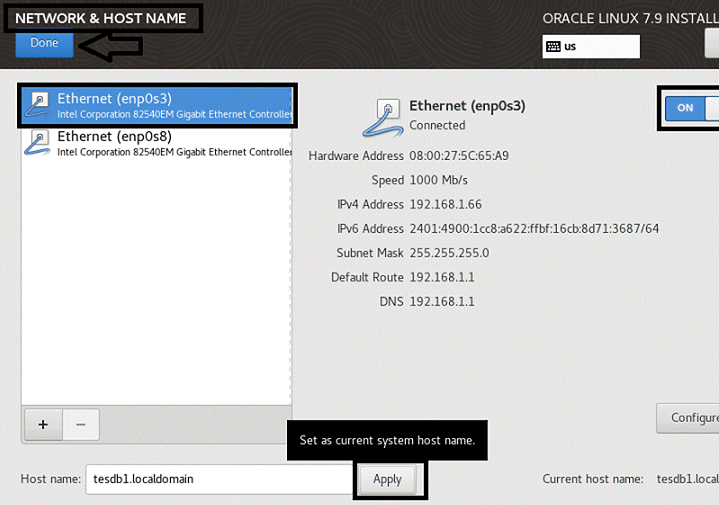 Double check all network is on 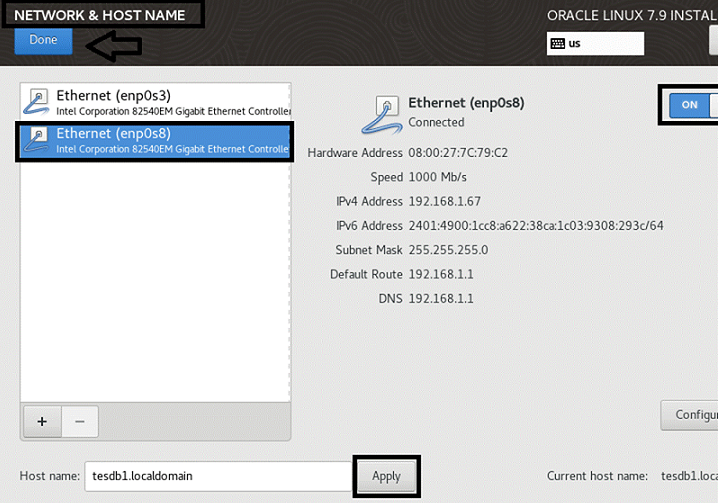 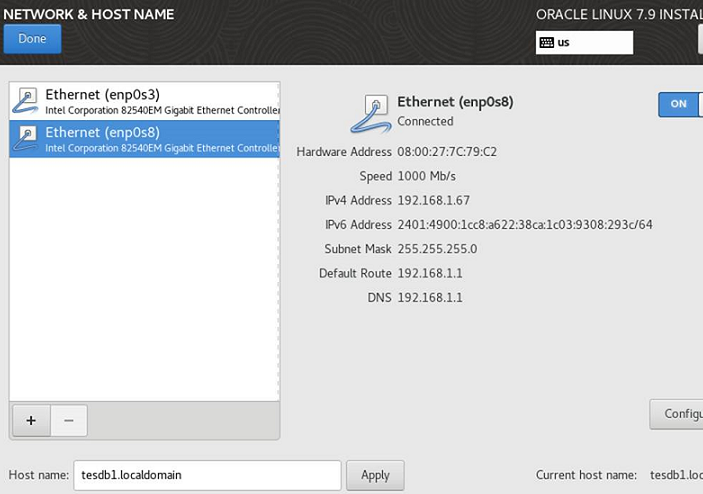 We completed the configuration.before starting installation double check everything looks good Enter Root Password 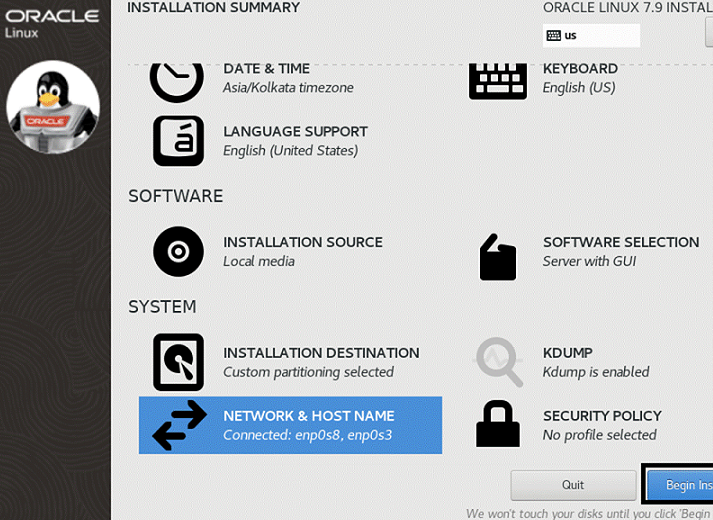 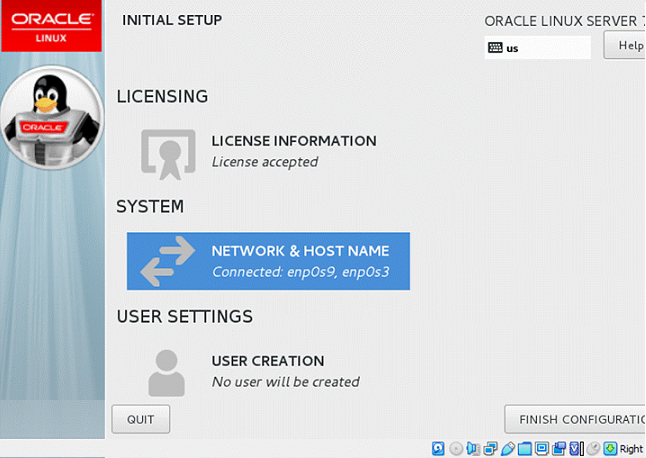 Installation is completed just press reboot button 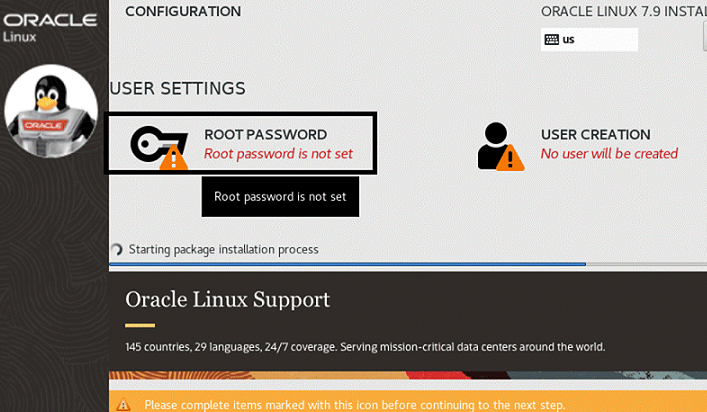 Select Accept button 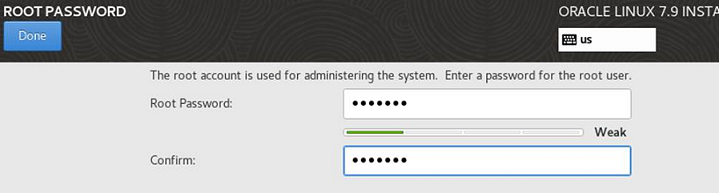 Click Finish button 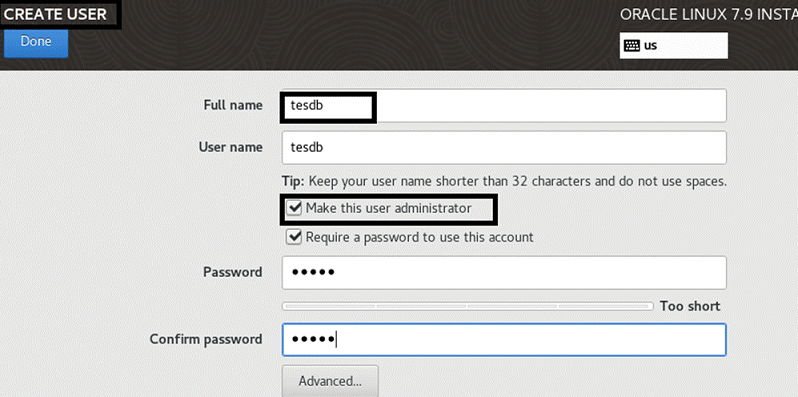 ☛ Join to Learn from Experts: Oracle RAC Training in Chennai by TesDBAcademy
« Previous
Next Topic »
(Oracle Rac - Configuring Grid Cluster installation)
|